Installing Coach Lights A Comprehensive Guide
Install coach lights – Installing coach lights is a crucial step in ensuring vehicle safety and aesthetics. This guide dives deep into the process, covering everything from product selection and installation procedures to wiring, troubleshooting, and regulatory compliance. We’ll explore various coach light types, installation methods for different vehicles, and the essential safety precautions to take throughout the entire process.
From understanding the different types of coach lights available and their functionalities to navigating the wiring and electrical connections, this guide provides a thorough and practical approach to installing coach lights correctly. We’ll also discuss cost considerations and potential issues, along with preventive maintenance measures to extend the lifespan of your lights.
Product Overview
Coach lights, a crucial component of transportation infrastructure, encompass a wide range of designs and functionalities. They are essential for visibility and safety, particularly in areas with limited natural light or high-traffic volumes. Their design and performance are tailored to the specific needs of the environment in which they are installed.
This overview delves into the diverse facets of coach lights, including their types, materials, installation methods, and comparative performance among different brands. Understanding these aspects is vital for selecting the appropriate coach lights for various applications, ensuring optimal visibility and safety.
Types of Coach Lights
Coach lights are categorized by their design and function, each offering unique advantages. Some common types include LED, incandescent, and halogen lights. LED lights, known for their energy efficiency and longevity, are increasingly popular. Incandescent lights, while a traditional choice, are less efficient and have a shorter lifespan. Halogen lights offer a balance between cost and performance.
Materials Used in Coach Light Manufacturing
The choice of materials for coach lights significantly impacts their durability, performance, and safety. Common materials include high-quality plastics for housing, metal alloys for mounting structures, and transparent materials like polycarbonate or tempered glass for the lens. The selection of materials directly influences the overall performance, resistance to environmental factors, and cost-effectiveness of the light.
Installation Methods for Coach Lights: Install coach lights.
Installation methods vary based on the type of vehicle and the specific application. For example, surface-mounted installations are suitable for some vehicles and fixed structures, while recessed installations are better suited for specific architectural styles. Professional installation is crucial to ensure proper electrical connections and optimal light output. This often involves careful planning and consideration of the vehicle’s design and regulatory standards.
Comparison of Coach Light Brands and Models
Various manufacturers offer coach lights, each with its own set of specifications and features. Key factors to consider include lumen output, color temperature, beam pattern, and warranty. Some brands might excel in energy efficiency, while others prioritize durability. Comparisons can be made based on specific performance metrics, allowing informed decisions on selecting the appropriate model for a given need. For example, a comparison table could detail the average lifespan, energy consumption, and warranty period for each brand.
Examples of Coach Lights for Different Applications
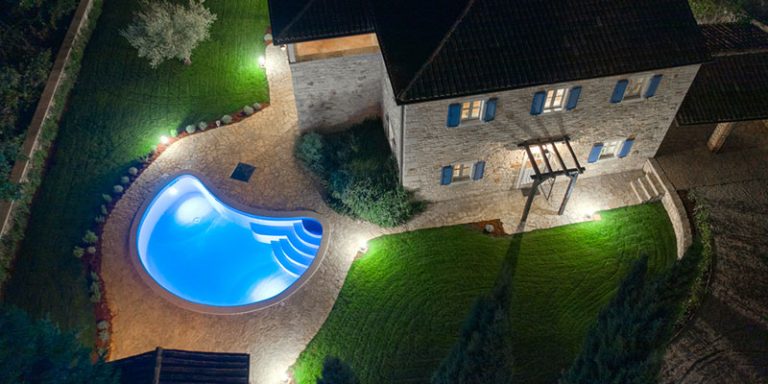
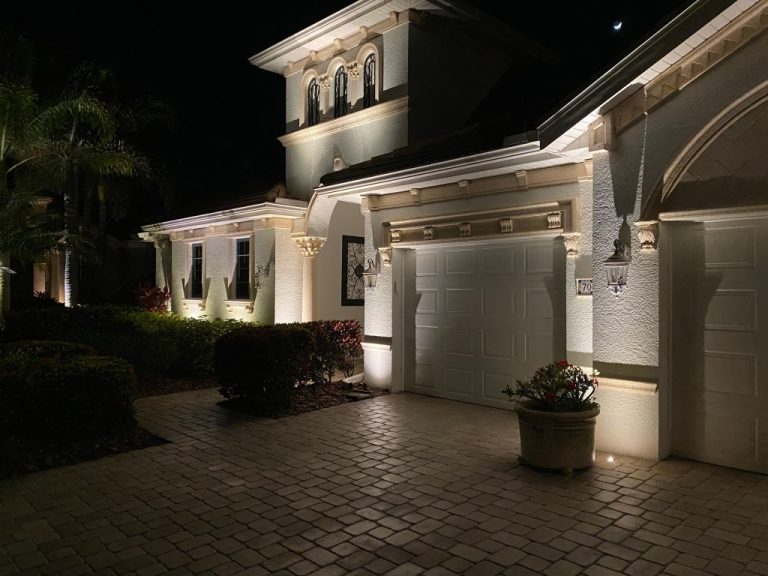
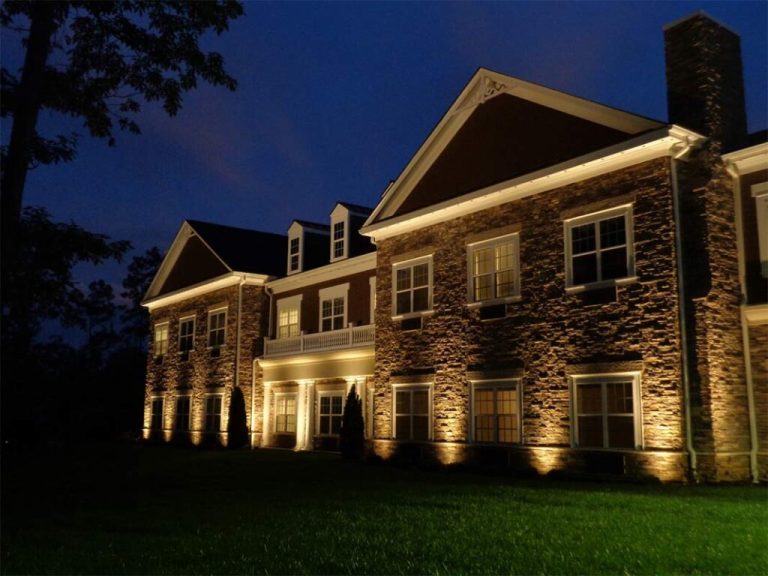
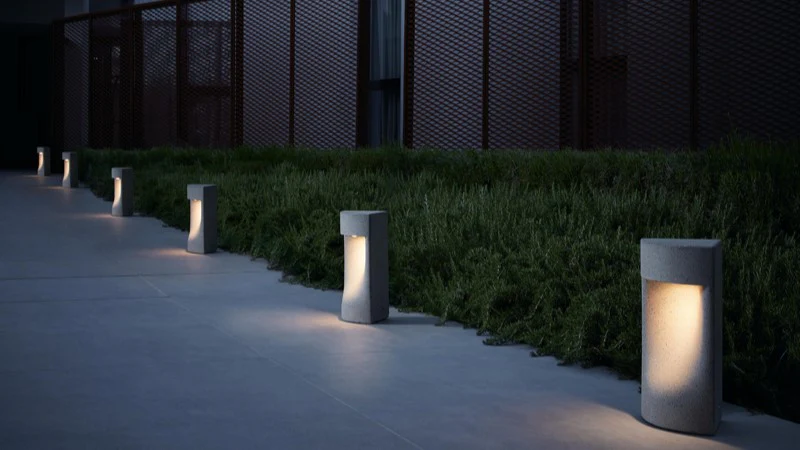
Coach lights find applications in diverse settings. Residential installations might involve pathway lighting, while commercial applications could include parking lot illumination. Industrial settings might use them for warehouse or factory lighting. The selection of coach lights for a particular application should align with factors like ambient lighting requirements, the specific needs of the environment, and the desired level of safety. Examples include:
- Residential: Low-profile, energy-efficient LED coach lights are suitable for walkways and patios.
- Commercial: High-lumen, durable coach lights are ideal for parking lots and retail spaces to ensure visibility.
- Industrial: Heavy-duty, weather-resistant coach lights are important for factories and warehouses to prevent accidents.
Wiring and Electrical Connections
Proper electrical wiring and connections are crucial for the safe and reliable operation of coach lights. Improper installations can lead to electrical hazards, malfunctions, and potential damage to the vehicle’s electrical system. Adhering to the correct wiring procedures and safety precautions is paramount for a successful installation.
Electrical Wiring Requirements
Coach lights, like other vehicle lighting systems, require specific wiring specifications to ensure proper function and safety. These specifications typically include wire gauge, insulation type, and appropriate connectors. The electrical system’s voltage and amperage ratings must be considered to avoid overloading the system and ensure the lights function correctly. Furthermore, the wiring must comply with local electrical codes and regulations.
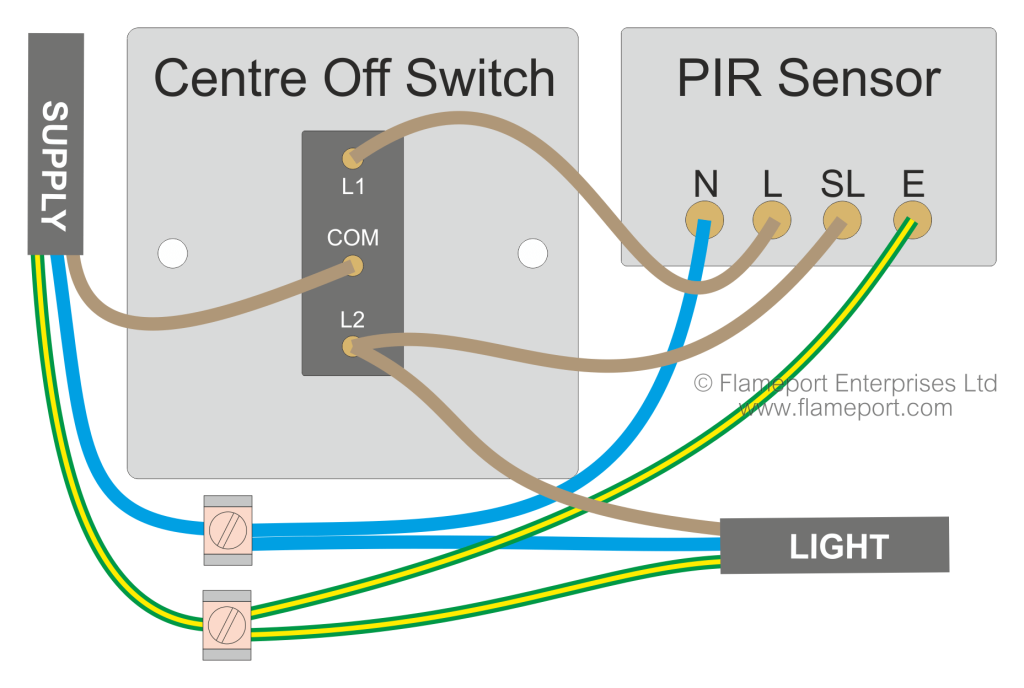
Wiring Diagrams
Visual representations, such as diagrams, are essential for guiding the installation process. Clear diagrams illustrate the connections between the coach light components, the power source, and the ground. These diagrams will show the specific wire routing, terminal connections, and the order of assembly. This visual guidance ensures accurate connections for a reliable and safe installation.
Importance of Proper Grounding
Proper grounding is essential for safety and the efficient operation of coach lights. A grounded circuit provides a path for excess current to flow safely to the earth, preventing electrical shocks and potential damage. Improper grounding can result in malfunctions, reduced lifespan of components, and safety risks. Ensure that the grounding connections are secure and properly made to avoid any potential hazards.
Potential Electrical Hazards
Potential electrical hazards during coach light installations include short circuits, frayed wires, exposed wiring, and incorrect connections. These hazards can cause malfunctions, damage to components, and pose safety risks. Understanding and mitigating these hazards through proper installation techniques and tools is crucial. Examples include using insulated wire strippers, employing proper grounding procedures, and verifying connections before energizing the circuit.
Wire Types and Gauges
The appropriate wire type and gauge are critical for ensuring the safety and efficiency of coach light installations. Different wire gauges have varying current-carrying capacities. The correct gauge is chosen based on the expected current flow to avoid overheating and potential damage to the wires or the entire system. The table below summarizes the commonly used wire types and gauges for coach lights.
| Wire Type | Wire Gauge | Amperage Rating | Application |
|---|---|---|---|
| Stranded Copper Wire | 18 AWG | 2.5 A | Interior lights, low-power accessories |
| Stranded Copper Wire | 16 AWG | 4 A | Exterior lights, medium-power accessories |
| Solid Copper Wire | 14 AWG | 7 A | High-power accessories, heavy-duty circuits |
Note: AWG stands for American Wire Gauge. Amperage ratings are approximate and may vary depending on the specific application and environmental conditions. Always refer to the manufacturer’s specifications for precise recommendations.
Troubleshooting and Maintenance
Proper troubleshooting and maintenance are crucial for ensuring the longevity and reliable operation of coach lights. Addressing issues promptly and implementing preventative measures can significantly extend the lifespan of these critical components. This section details common problems, solutions, and maintenance strategies to maximize your coach lighting system’s performance.
Common Installation Problems
Addressing potential issues during installation is key to avoiding costly repairs and ensuring a seamless operation. Recognizing and resolving problems early can save time and resources. Various factors can contribute to installation difficulties, such as incorrect wiring, faulty components, or inadequate mounting procedures.
- Incorrect Wiring Connections: Improper connections can lead to short circuits, blown fuses, or a complete lack of light output. Double-check all wire connections to ensure they are secure and properly terminated. Use appropriate wire connectors and ensure correct polarity for the coach lights.
- Faulty Components: Sometimes, the problem isn’t in the installation but in the components themselves. If the coach lights aren’t working, a potential issue is a defective bulb or ballast. Inspect the bulbs and ballasts to confirm their functionality. Replacing faulty components is usually straightforward.
- Inadequate Mounting: Poor mounting can result in loose or damaged fixtures, leading to light leaks, flickering, or even complete failure. Ensure that the coach lights are securely fastened to the mounting points according to the manufacturer’s specifications. Proper support is critical for longevity.
Solutions for Installation Problems
Effective solutions to installation issues often involve methodical checks and careful repairs. The following solutions guide resolves common problems encountered during coach light installations.
- Wiring Issues: Verify all connections using a multimeter to confirm proper voltage and amperage. Ensure that the wiring conforms to the electrical codes and standards. Correct any faulty connections with appropriate wire connectors and ensure a secure connection to prevent further issues.
- Faulty Components: Replace any defective bulbs or ballasts with new, genuine parts. Consult the manufacturer’s specifications for correct replacement parts. Using compatible components guarantees optimal performance and prevents future issues.
- Mounting Issues: If the mounting is inadequate, reinforce the mounting points or replace the fixture entirely. Ensure the mounting hardware is appropriate for the coach light fixture’s weight. This helps maintain the integrity of the fixture and its connections.
Preventive Maintenance
Implementing preventative measures can significantly extend the lifespan of coach lights. Regular checks and maintenance tasks can help detect potential issues early, minimizing downtime and preventing costly repairs.
- Regular Inspections: Visually inspect the coach lights for any signs of damage, such as cracks, corrosion, or loose connections. Regular checks can help detect potential issues early.
- Cleaning: Clean the coach lights periodically to remove dust and debris that can affect their performance. Use a soft cloth and a mild cleaning solution to maintain their aesthetic appeal and functionality.
- Lubrication: If applicable, lubricate moving parts to ensure smooth operation and minimize friction. This is especially important for fixtures with moving components.
Assessing Coach Light Condition
Assessing the condition of coach lights is essential for proactive maintenance. Recognizing signs of deterioration can help prevent costly repairs and ensure the safety and functionality of the coach lighting system.
- Visual Inspection: Examine the coach lights for any physical damage, such as cracks, corrosion, or discoloration. Look for loose connections, frayed wires, and any signs of moisture damage.
- Functionality Testing: Test the coach lights to confirm their proper operation. Check for flickering, dimming, or any other unusual behavior. A thorough functional test is crucial for identifying potential problems.
Troubleshooting Table
This table provides a quick reference for common coach light installation issues and their solutions.
| Potential Issue | Solution |
|---|---|
| Coach lights are not working | Check wiring connections, replace bulbs or ballasts, and ensure proper polarity. |
| Flickering lights | Check wiring connections, ensure secure mounting, and check for loose connections.. |
| Dim lights | Check wiring connections, replace bulbs or ballasts, and ensure proper voltage. |
| Burning smell | Check for overheating, inspect wiring for damage, and replace faulty components. |
| Water damage | Dry the affected area, replace damaged components, and repair any structural damage. |
Visual Aids and Examples: Install Coach Lights
Coach lights, a crucial component of any vehicle, require careful consideration during installation. Understanding different models, their features, and the installation process is paramount for successful implementation. This section provides visual aids and examples to enhance your understanding.
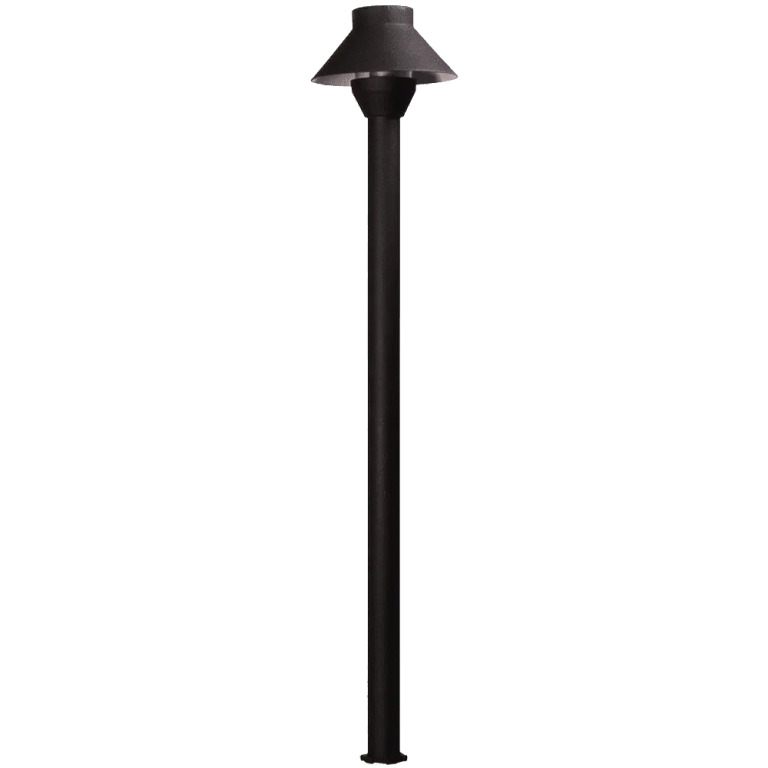
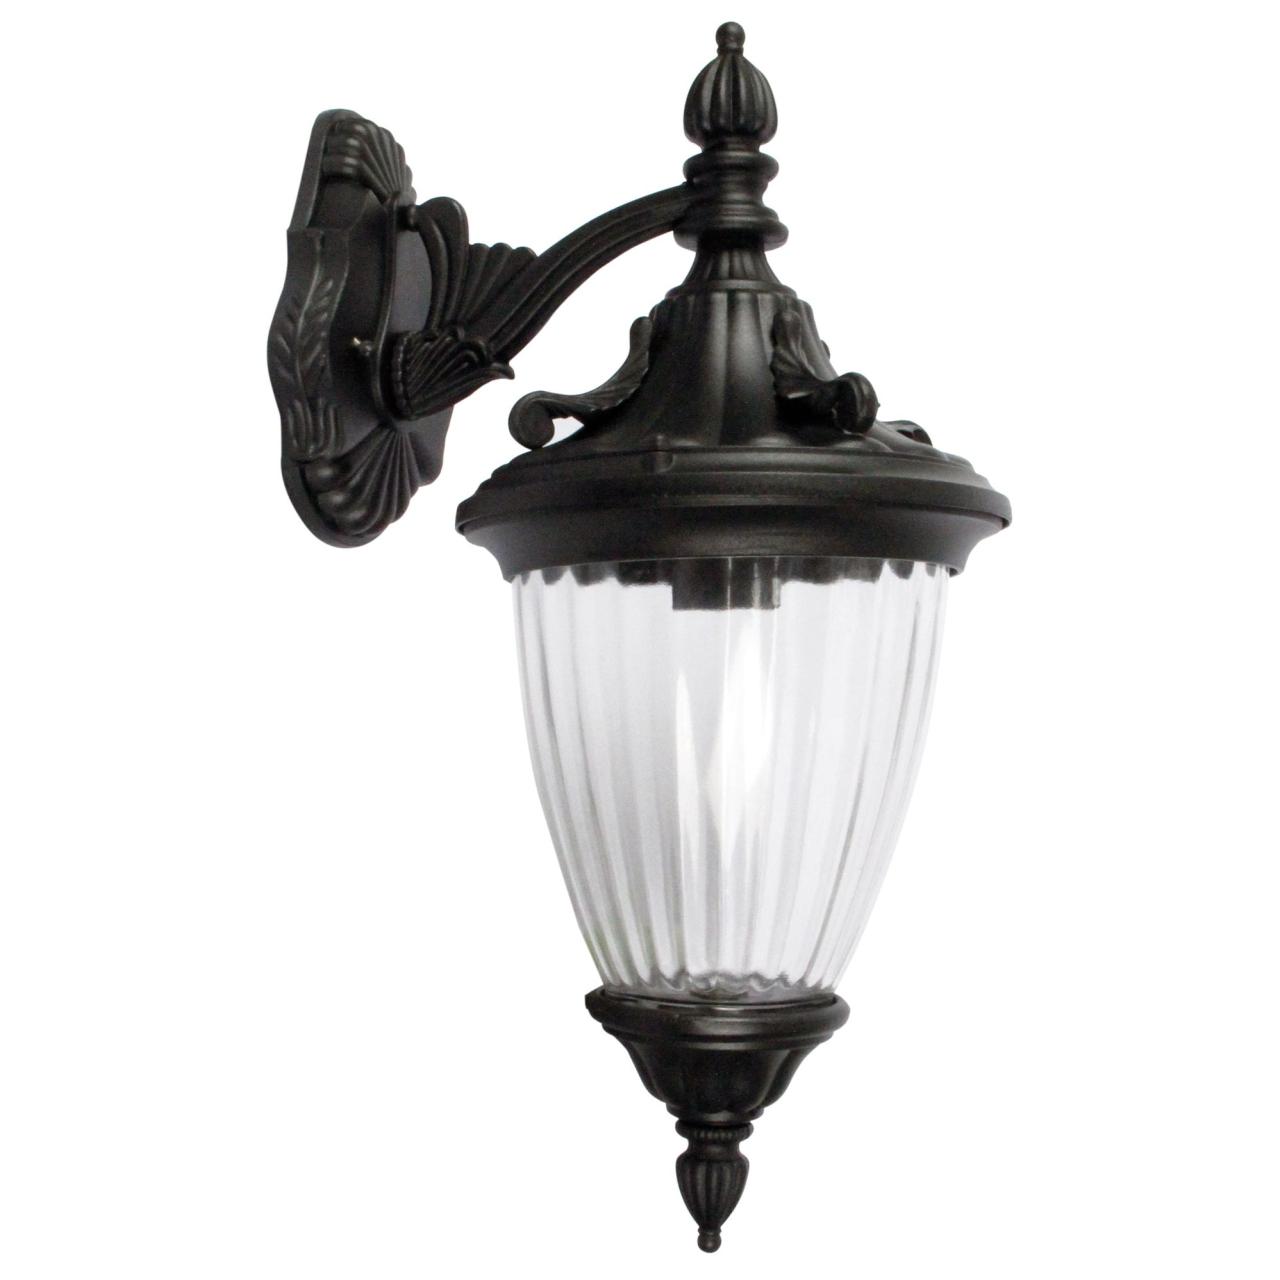
Coach Light Models and Aesthetics
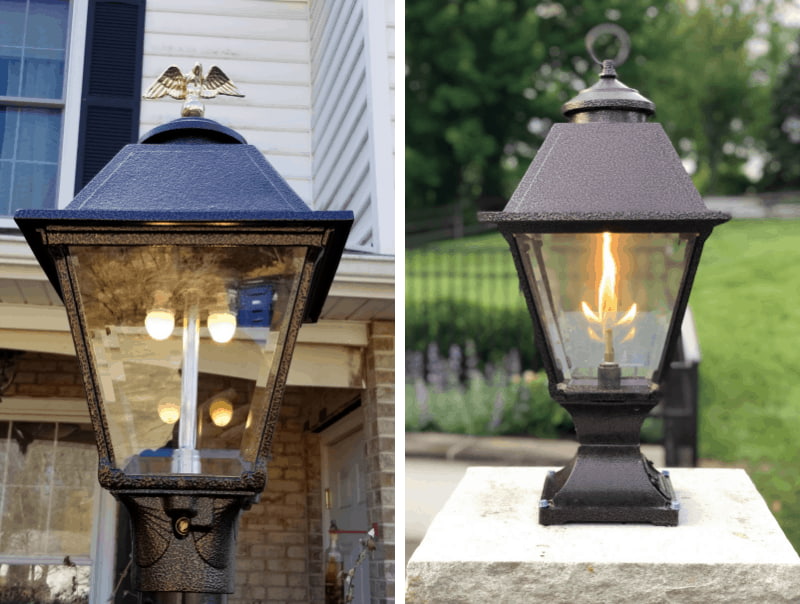
Coach lights come in various styles, each with unique aesthetic qualities. The selection process depends on the desired look and the specific needs of the vehicle. Some models feature sleek, modern designs, while others emphasize a more traditional or rugged appearance. The choice often involves balancing aesthetics with functionality and compatibility with the vehicle’s overall design.
Installation Guide
A clear visual guide is essential for a smooth installation process. The following steps detail the process for a typical coach light installation. This illustrative guide should be meticulously followed for a proper fit and function.
- Preparation: Ensure all necessary tools and materials are gathered. This includes a Phillips head screwdriver, wire strippers, electrical tape, and the new coach lights. Carefully inspect the existing wiring and identify the positive and negative terminals. Thoroughly clean the mounting area to ensure a secure and stable installation.
- Disassembly (if applicable): If the existing coach lights require removal, follow the appropriate steps to detach them safely. Document any necessary steps for reassembly. Carefully remove any protective coverings or clips.
- Mounting: Carefully align the new coach lights with the mounting holes on the vehicle. Secure the lights using the provided hardware, ensuring a firm and even attachment.
- Wiring Connections: Connect the positive and negative wires of the new coach lights to the corresponding terminals on the vehicle’s wiring harness. Use appropriate electrical connectors and ensure a tight, secure connection.
- Testing: Turn on the vehicle’s lights to confirm that the new coach lights function correctly. Check for proper brightness, color, and any unusual sounds or smells.
- Finishing Touches: Reattach any protective coverings or clips if necessary. Clean up any debris or remnants from the installation process. Carefully inspect the entire installation for any loose connections or damage.
Coach Light Specifications
Understanding the specifications of different coach light models is crucial for compatibility and performance. The following table provides examples.
| Model | Dimensions (LxWxH) | Wattage | Color Temperature | Price (USD) |
|---|---|---|---|---|
| Model A | 10cm x 5cm x 2cm | 20W | 6000K | $25 |
| Model B | 12cm x 6cm x 3cm | 30W | 5000K | $35 |
| Model C | 15cm x 7cm x 4cm | 40W | 4000K | $45 |
Comparison of Coach Light Brands
This table compares various coach light brands based on features and pricing.
| Brand | Features | Price (USD) |
|---|---|---|
| Brand X | Durable construction, long lifespan, good brightness | $25-40 |
| Brand Y | Stylish design, energy-efficient, water-resistant | $30-50 |
| Brand Z | High-intensity LEDs, wide beam angle, affordable | $20-35 |
Image Description: Coach Light Installation
The image depicts a step-by-step coach light installation. The first step shows the vehicle’s coach light housing. The next step displays the new coach light being carefully positioned over the mounting holes. The third step demonstrates the wire connections being made. Tools, like wire strippers and a screwdriver, are visible, emphasizing the importance of proper tools for a successful installation. This process highlights the importance of precise placement and secure connections for optimal functionality.
Cost and Budget Considerations
Installing coach lights involves various costs, from the materials themselves to labor and potential unforeseen expenses. A well-planned budget is crucial to ensure a successful installation without exceeding your allocated funds. Careful consideration of different models, pricing variations, and cost-saving strategiesise essential to meet your budget objectives.
Planning for coach light installations necessitates a detailed understanding of the associated expenses. A thorough breakdown of costs, considering different models and potential savings, helps in making informed decisions and avoiding financial surprises. This section provides a comprehensive overview of factors influencing costs, presents estimated costs for various options, and suggests ways to mitigate expenses without compromising quality.
Estimating Total Installation Costs
A precise estimate for coach light installations depends on several factors, including the complexity of the installation, the type of coach lights selected, and the labor rates in your area. These factors should be considered when determining the total cost. To begin, gather quotes from qualified electricians or installers. This will provide a comprehensive understanding of the labor component. Compare quotes and choose a reputable professional.
Breakdown of Costs for Different Coach Light Models
The cost of coach lights varies significantly based on the model, features, and materials. LED coach lights, for example, often have a higher initial cost but offer lower long-term operating expenses. Incandescent coach lights, while less expensive initially, might have higher running costs and shorter lifespans. High-intensity LED models, featuring advanced functionalities like dimming and color customization, tend to be more expensive.
Ways to Reduce Installation Costs
Reducing installation costs without compromising quality is possible through strategic planning. Consider purchasing coach lights in bulk to potentially negotiate better prices. Choosing a simpler installation design can also lower labor costs. If you are capable, completing some preparatory tasks yourself, such as wire routing, can reduce the labor component.
Factors Influencing Coach Light Installation Costs
Various factors influence the total cost of coach light installations. The complexity of the wiring, the type of coach lights chosen, the labor rates in the area, and the availability of materials all contribute to the final price. Moreover, if special permits or inspections are required, this will add to the overall cost. Finally, any unforeseen complications during installation can increase expenses.
Table of Coach Light Options and Associated Costs
| Coach Light Model | Estimated Material Cost | Estimated Labor Cost | Estimated Total Cost |
|---|---|---|---|
| Basic LED Strip Lights | $100 – $200 | $150 – $300 | $250 – $500 |
| High-Intensity LED with Dimming | $200 – $400 | $200 – $400 | $400 – $800 |
| Custom-designed LED with Color Customization | $300 – $600 | $300 – $600 | $600 – $1200 |
Note: Costs are approximate and may vary based on specific factors.
Concluding Remarks

Source: shopify.com
In conclusion, installing coach lights effectively requires a thorough understanding of the process, from selecting the right lights to ensuring proper wiring and safety measures. This comprehensive guide provides a detailed roadmap for successful installation, covering all aspects of the task, from initial preparation to final adjustments. By following the steps in this guide, you can ensure a safe, functional, and aesthetically pleasing coach light installation.